Here, I summarise how I setup my macOS for the purpose of Data Science. Ultimately, I should invest some time into automating the process.
Install Command Line Developer Tools
1xcode-select --install
Install HomeBrew
1/usr/bin/ruby -e "$(curl -fsSL https://raw.githubusercontent.com/Homebrew/install/master/install)"
Turn off analytic (optional)
1brew analytics off
Install iTerm
1brew install iterm
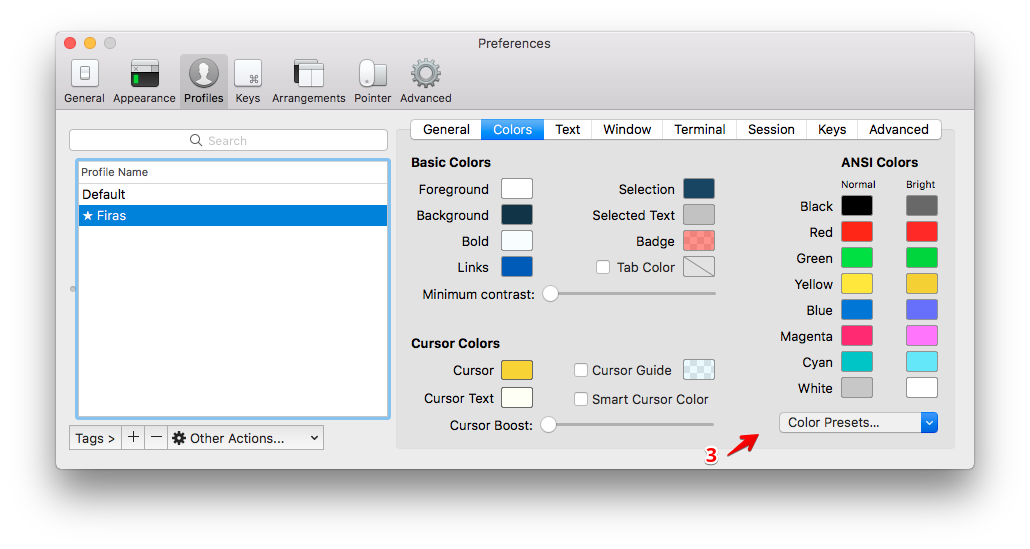
Configure iTerm
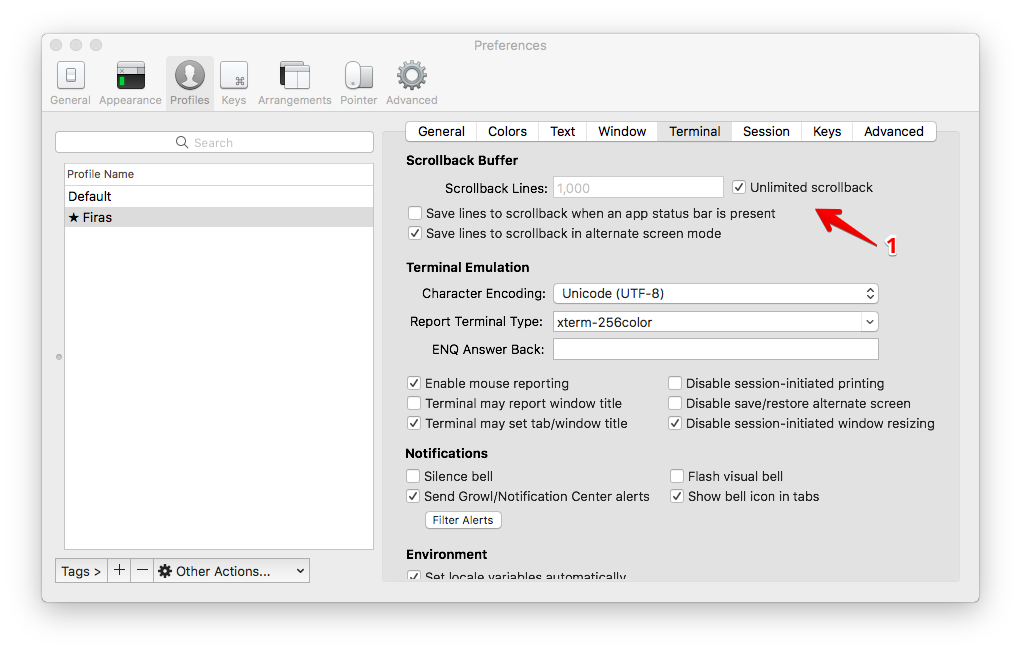
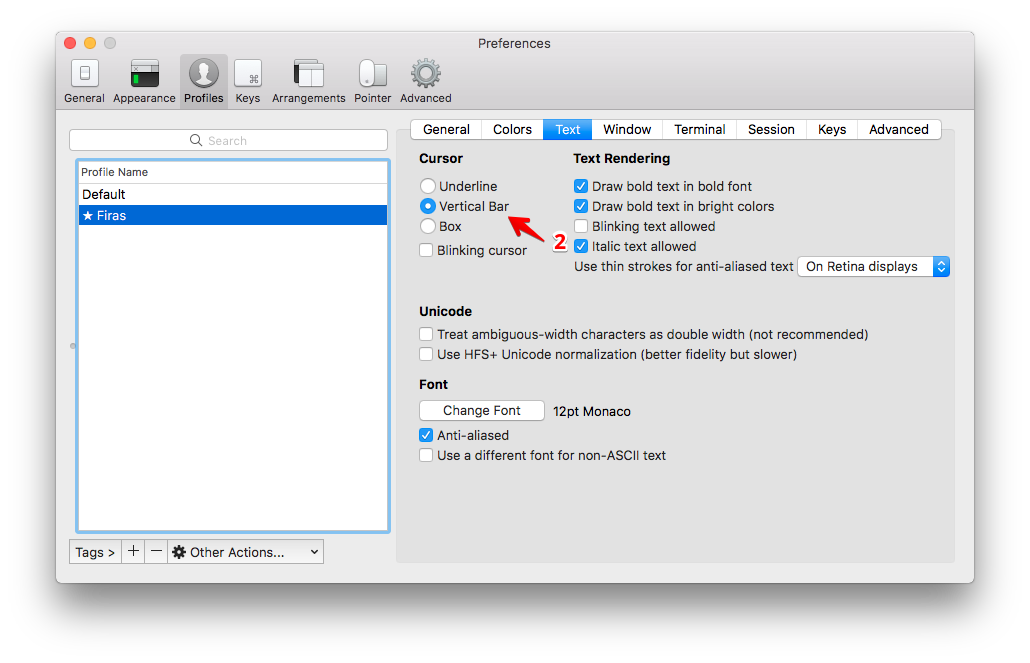 To download different colour schemes, visit iTerm Themes
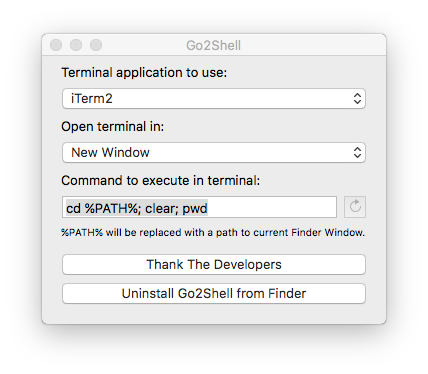
Install Go2Sehll
Download and install from Go2Shell, then configure it to work with iTerm:
Install git
1brew install git
Configure git
1git config --global user.name "userName"
2git config --global user.email "email@mailprovider.com"
3git config --global core.excludesfile '~/.gitignore'
Configure ssh key
1mkdir ~/.ssh #if it does not already exist
2chmod 700 ~/.ssh
3cd ~/.ssh
4ssh-keygen -t rsa -C "email@mailprovider.com"
5enter a keyname
6enter a passphrase
7cat ~/.ssh/keyname.pub
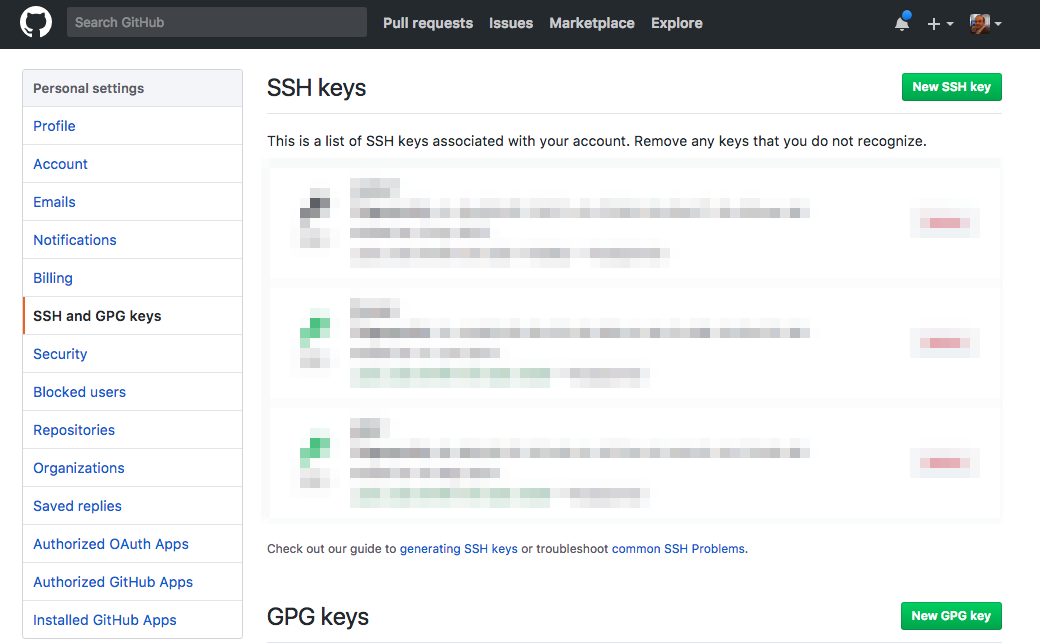
Copy the key to GitHub. Go to GitHub Settings. From the left margin, choose SSH and GPG keys and click on New SSH key. Paste the value copied above and give the key a name.
1eval `ssh-agent -s` # if needed
2ssh-add ~/.ssh/KEYNAME
Install zsh
1brew install zsh
2echo "$(which zsh)"
3sudo vi /etc/shells
Edit /etc/shells/ and add the path /usr/local/bin/zsh at the end of the file.
1chsh -s $(which zsh)
Install prezto
1git clone --recursive https://github.com/sorin-ionescu/prezto.git "${ZDOTDIR:-$HOME}/.zprezto"
Configure prezto
Create soft links ln -s to all the files found in ~/.zprezto/runcoms/ and change each link’s NAME to .NAME:
1cd ~
2ln -s .zprezto/runcoms/z* .
3mv zlogin .zlogin
4mv zlogout .zlogout
5mv zpreztorc .zpreztorc
6mv zprofile .zprofile
7mv zshenv .zshenv
8mv zshrc .zshrc
Prezto has many useful modules and here is a list of all modules available. You can edit .zpreztorc to enable any of them:
 1# Set the Prezto modules to load (browse modules).
 2# The order matters.
 3zstyle ':prezto:load' pmodule \
 4  'environment' \
 5  'terminal' \
 6  'editor' \
 7  'history' \
 8  'directory' \
 9  'spectrum' \
10  'utility' \
11  'completion' \
12  'git' \
13  'archive' \
14  'osx' \
15  'python' \
16  'ruby' \
17  'fasd' \
18  'autosuggestions' \
19  'command-not-found' \
20  'dnf' \
21  'dpkg' \
22  'emacs' \
23  'gnu-utility' \
24  'gpg' \
25  'haskell' \
26  'helper' \
27  'homebrew' \
28  'macports' \
29  'node' \
30  'ocaml' \
31  'pacman' \
32  'perl' \
33  'rails' \
34  'rsync' \
35  'screen' \
36  'ssh' \
37  'tmux' \
38  'wakeonlan' \
39  'yum' \
40  'syntax-highlighting' \
41  'history-substring-search' \
42  'prompt'
Install Sublime Text
1brew cask install sublime-text
Configure Sublime Text
1sudo ln -s /Applications/Sublime\ Text.app/Contents/SharedSupport/bin/subl /usr/local/bin/subl
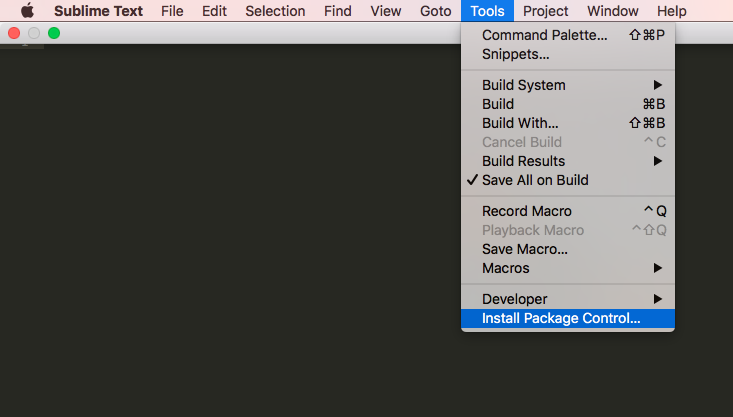
And then install Package Control to enable various useful packages.
Now, using the keyboard shortcut Cmd + Shift + p to invoke the Command Palette.
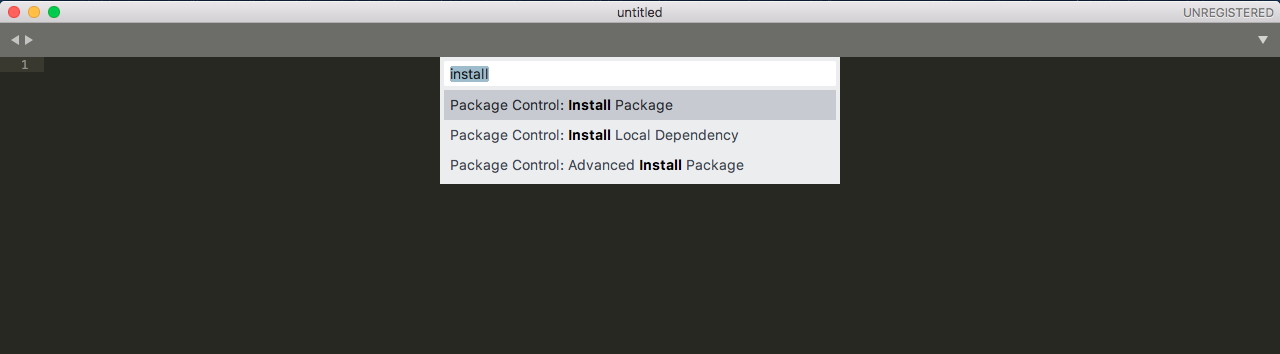
Type Install Package and hit enter, then type the name of the package to be installed. Visit Package Control website to search for useful packages.
Install R
1brew tap homebrew/science
2brew install openblas
3brew install r --with-openblas
Install RStudio (Preview version)
1brew install Caskroom/cask/rstudio-preview
Hints
Open finder from terminal
1open .
Show/hide hidden files
1defaults write com.apple.finder AppleShowAllFiles YES # to show hidden files
2defaults write com.apple.finder AppleShowAllFiles NO  # to hide hidden files
Then, press alt while clicking on Finder icon to Relunch Finder.